



01 Installation guide
If SwapFace is not installed on your Windows PC yet, complete the installation first. After a successful install, you can continue setting up the camera, face, and Stream video output.
Install SwapFace for Windows
In the install tutorial, you will learn:
How to download SwapFace for Windows.
How to complete the installation.
How to launch SwapFace for the first time.
How to grant camera and other required permissions.
How to confirm SwapFace is installed successfully.
02 Quick start
Follow the steps below to set up the camera, face, and video output, then start SwapFace realtime face swap.
Before you begin, make sure:
- SwapFace is installed and open.
- Your camera is connected and working.
- You have prepared the face image you want to use.
- You have permission to use that face image.
After these preparations, complete the steps below. You should see a stable realtime face swap result in SwapFace.
- Select camera1
- Select face2
- Select output3
- Start feature4
- Confirm result5


Step 1: Select the input camera
In the Video Input area, find Camera, then select the camera you want to use.
You can choose the built-in camera, a USB camera, or another available video input device.
After selecting, check that the preview area shows a live feed normally.
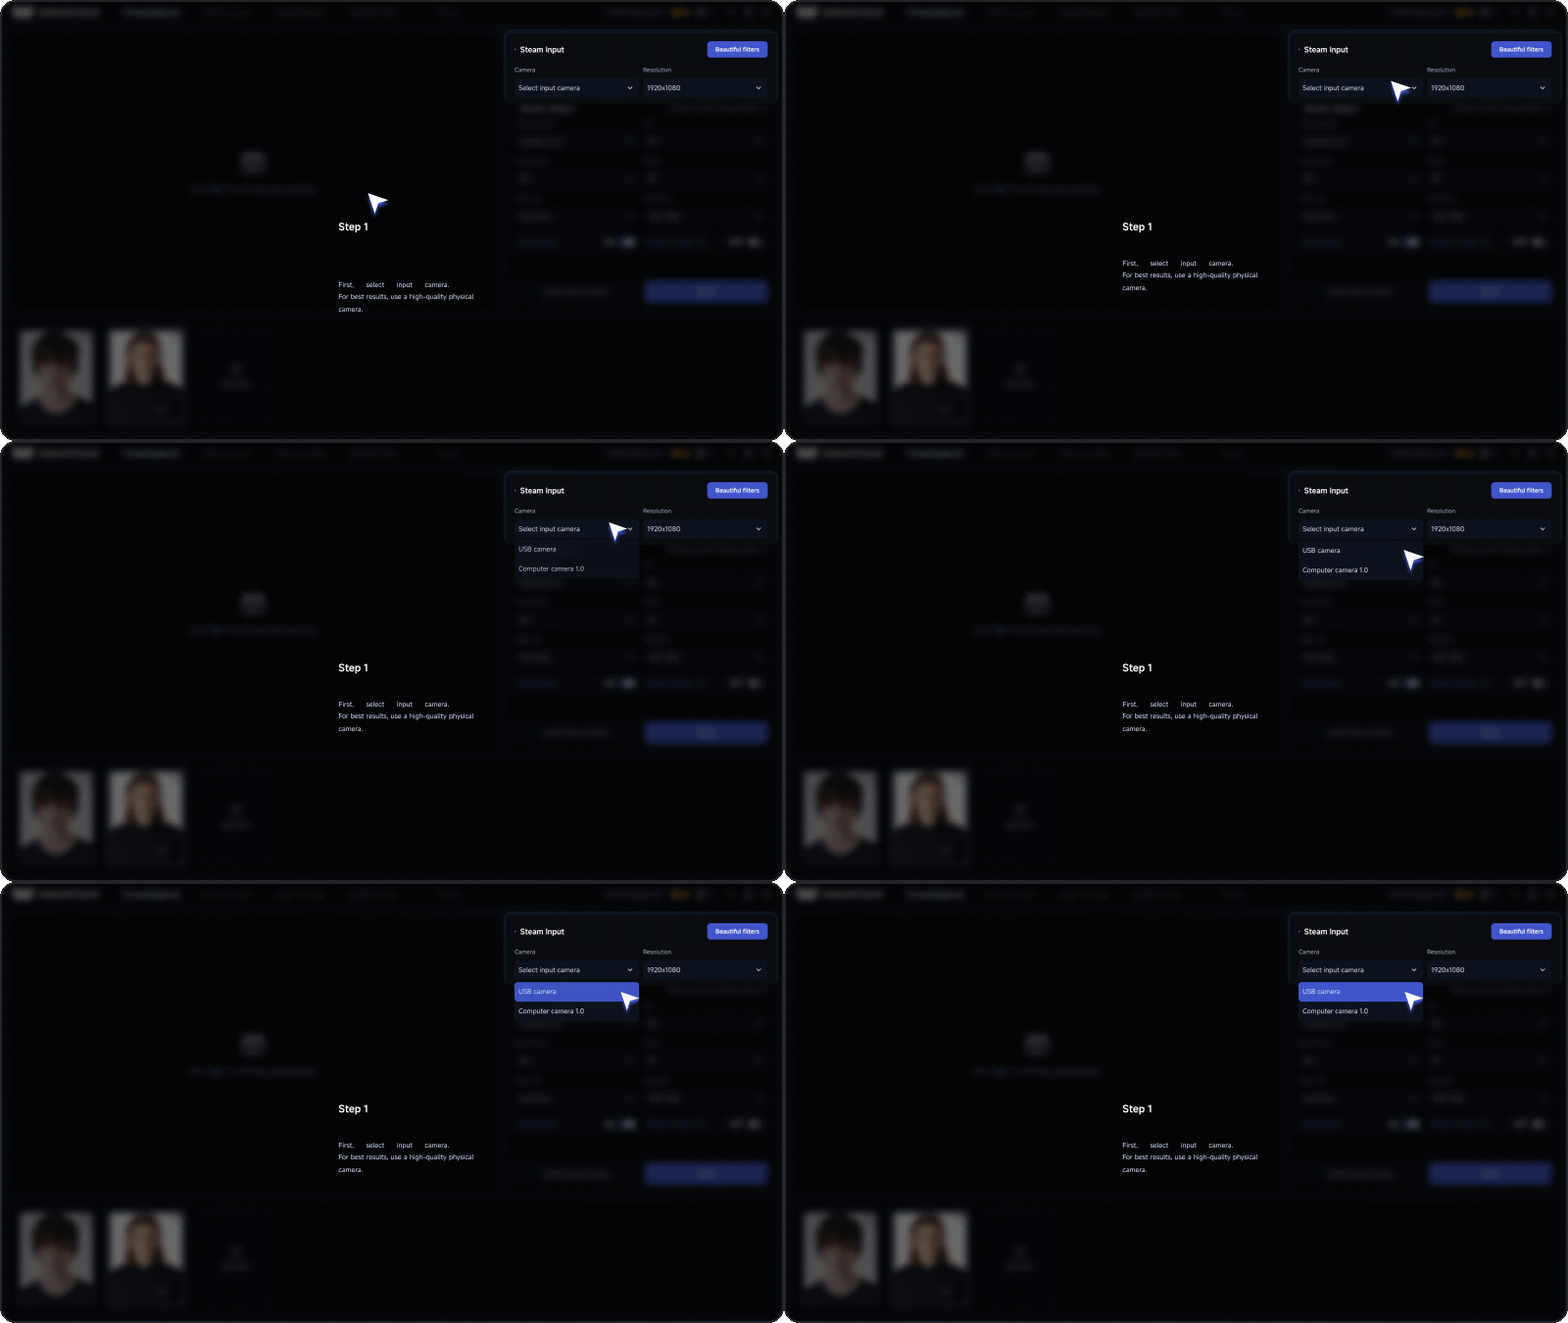
Setup successful
The preview area continuously shows the camera feed, with no black or green screen.
No camera feed?
Close any software that may be using the camera, then reselect or reconnect the camera. If there is still no feed, see “Input camera issues”.
Step 2: Select or add a face
In the face area at the bottom of the interface, select an existing face.
To use a new face, click Add More, then upload a clear, front-facing face image without occlusion.
For more stable results, we recommend:
- A front-facing or near front-facing face image.
- An evenly lit, high-clarity image.
- An image without large occlusion from hair, glasses, or hands.
- An image that contains only one person.
- An image you have permission to use.
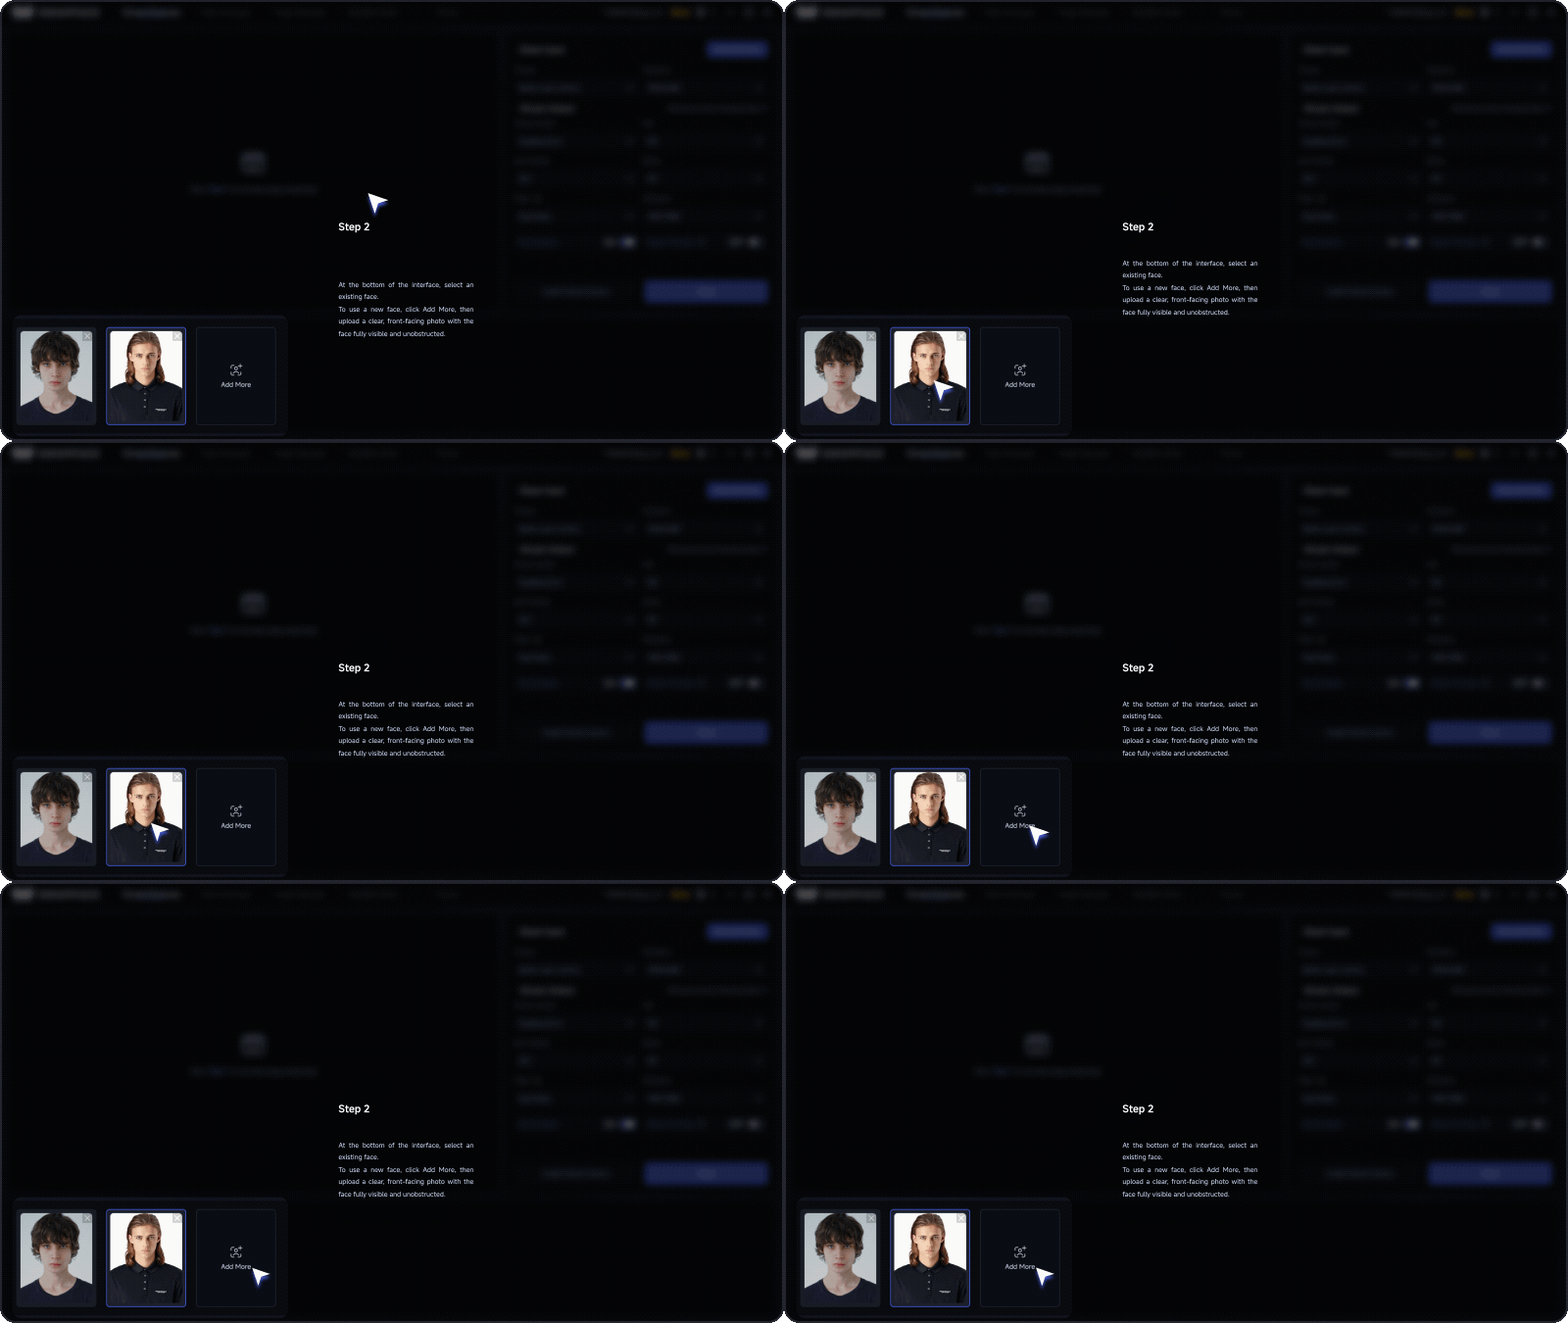
Setup successful
The selected face appears active and starts applying to the preview.
Face not applying?
Confirm the face is selected, and try a clear, front-facing image without occlusion. If the result is still abnormal, see “Face processing issues”.
Step 3: Install and select the virtual camera
On first use, click Install Virtual Camera.
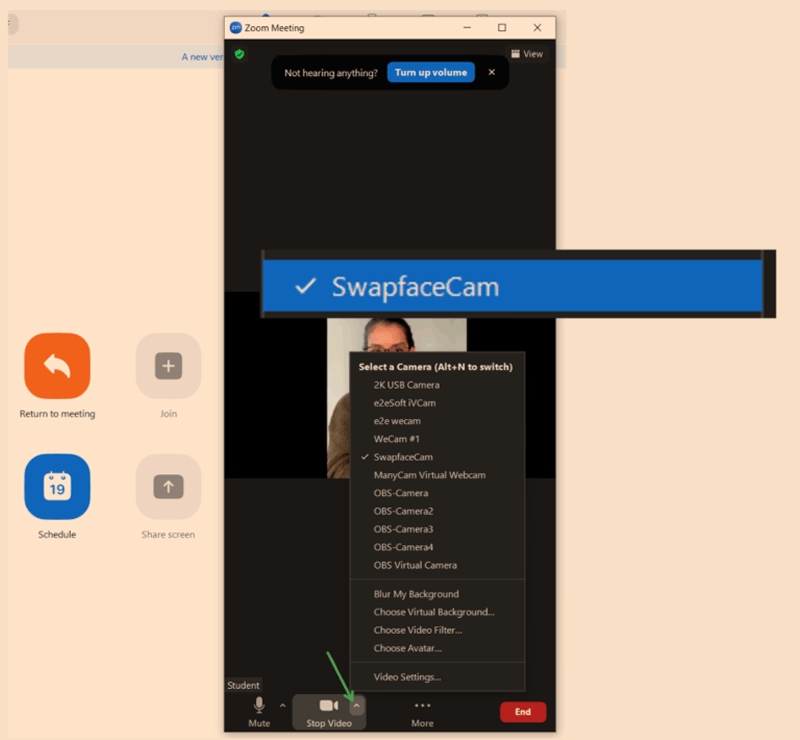
After installation, select SwapFaceCam in the Stream Output area.
The input camera and SwapFaceCam serve different roles:
- Input camera: provides the original feed to SwapFace.
- SwapFaceCam: sends the processed feed to other apps such as Zoom and OBS.
Some apps need to be restarted after the virtual camera is installed before they can detect SwapFaceCam.
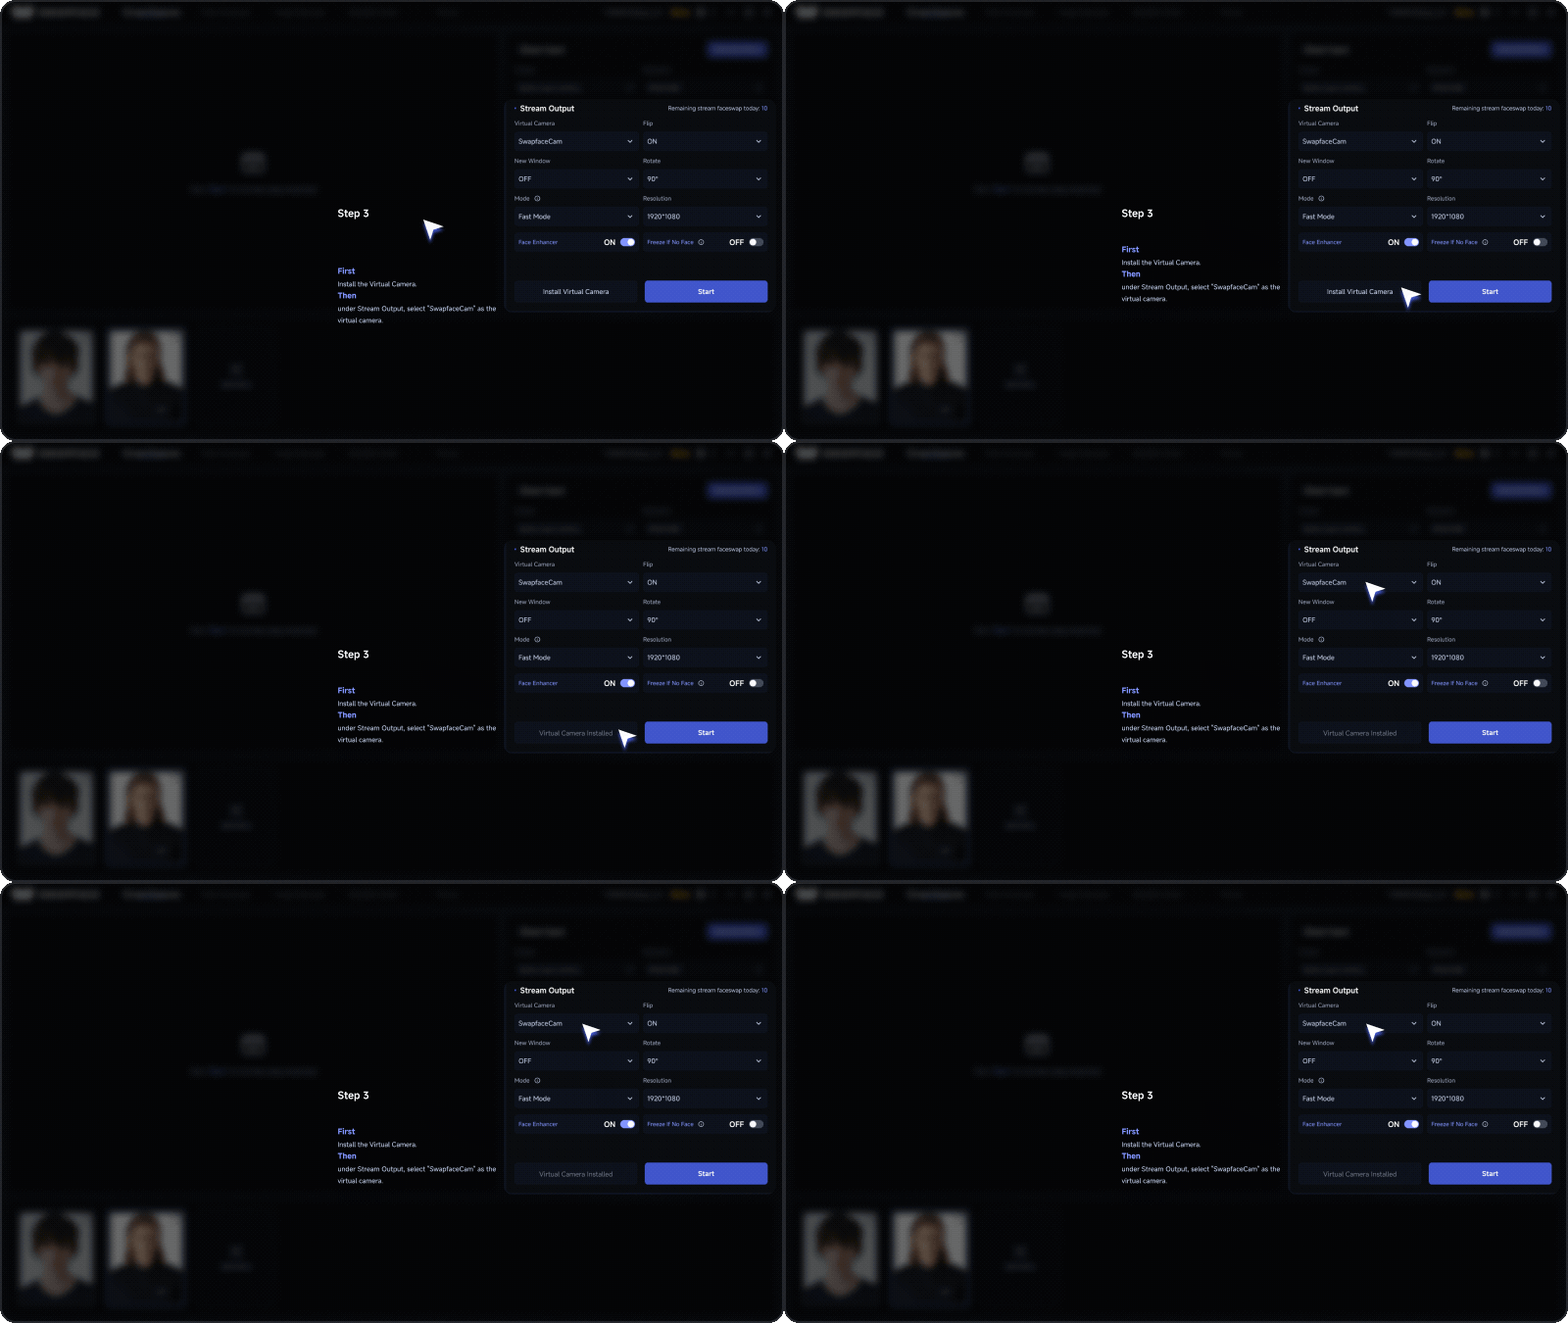
Setup successful
The Stream Output area shows SwapFaceCam, and the install virtual camera prompt no longer appears.
Cannot find SwapFaceCam?
Confirm the virtual camera is installed, then restart SwapFace and the target app. If it still cannot be detected, go to “Virtual camera output issues” for solutions.
Step 4: Start realtime face swap
After confirming the input camera, face, and video output are selected, click Start.
If a plan selection prompt appears, choose an available run mode for your current account.
Free users can follow the on-screen prompt to run a watermarked test; subscribed users can choose a run mode supported by their plan.
After starting, wait for the feed to finish loading.
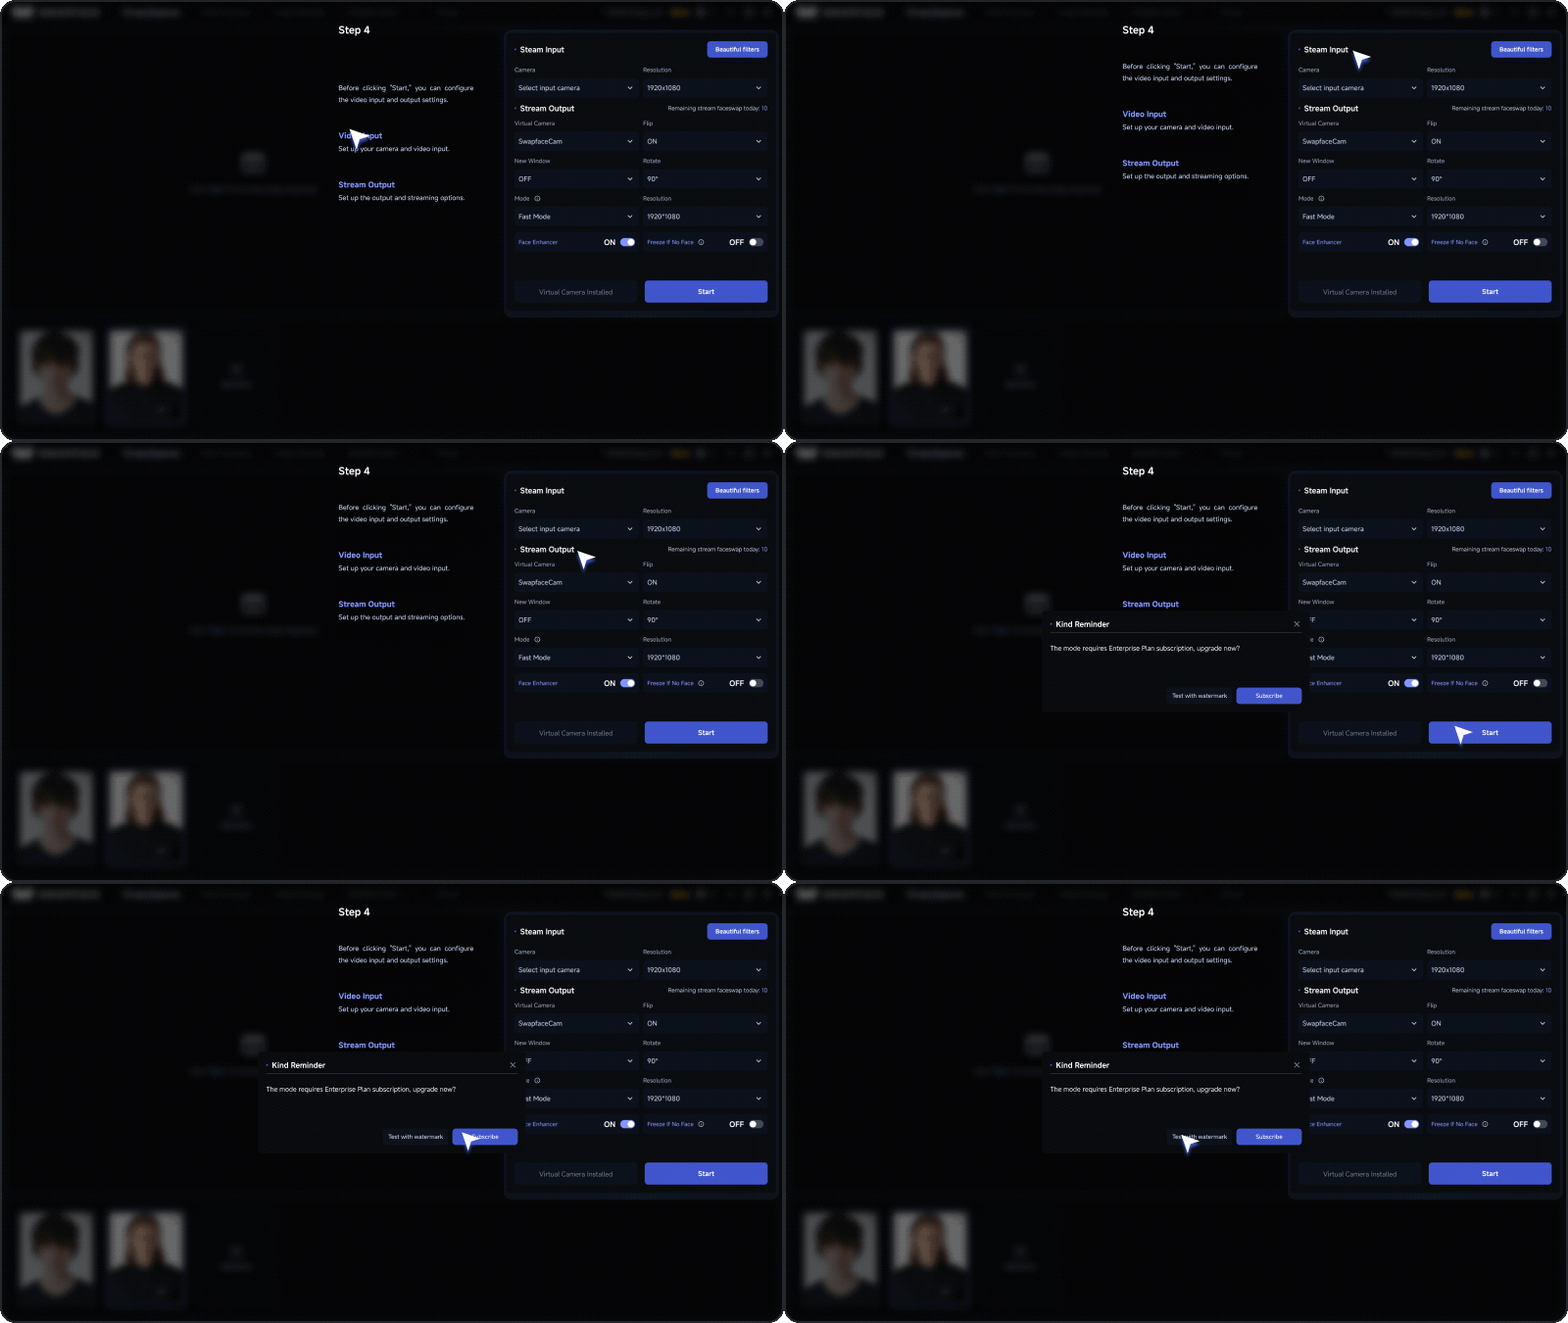
Setup successful
The preview shows the processed face and follows head movement and expression changes.
Running into issues?
If clicking Start shows an error, hangs for a long time, or the feed looks abnormal, go to “Startup and processing issues” for solutions.
Step 5: Confirm the result
After a successful start, do a quick check:
- The preview feed displays normally.
- The face has been swapped successfully.
- The face follows head movement.
- There is no obvious flickering or distortion.
- There is no black screen, green screen, or error message.
- Stream Output remains set to SwapFaceCam.
If all of the above look normal, SwapFace realtime face swap has started successfully.
Step 6: Use it in Zoom
Open a new meeting in Zoom, then choose “Switch Camera” from the video dropdown. You’re all set!
If you are not satisfied with the result, see section “03 Optimize face swap” to fine-tune for better quality.
What can you do next?
- If the feed is laggy, blurry, or the face is unstable, see “Performance optimization”.
- If you see a black screen, green screen, or startup failure, see “Troubleshooting”.
- If you need to use it in OBS or other apps, see the “Using Stream in other apps” guide.
03 Optimize face swap
If the face swap result is not as expected, try adjusting and optimizing with the tips below.
Improve camera quality
Camera quality directly affects face swap results. A low-quality camera can noticeably reduce performance.
If your PC camera quality is not ideal, use iVCam or Iriun to use your phone as a camera. Phone cameras usually provide clearer image quality.
Keep good lighting
Good lighting is very important for face swap quality.
Proper portrait lighting reduces artifacts and unnatural looks, making the final video appear more natural.
Reduce realtime processing latency
- Realtime face swap needs strong CPU and GPU performance to stay smooth and reduce latency.
- For better realtime performance, we recommend NVIDIA RTX 4070 Ti or a more powerful GPU.
- Paid users can also go to My Page to enable acceleration.
Avoid face occlusion
When using Swapface, keep your face clearly visible.
Occlusions such as glasses can affect face recognition and swap quality, so avoid covering the face whenever possible.
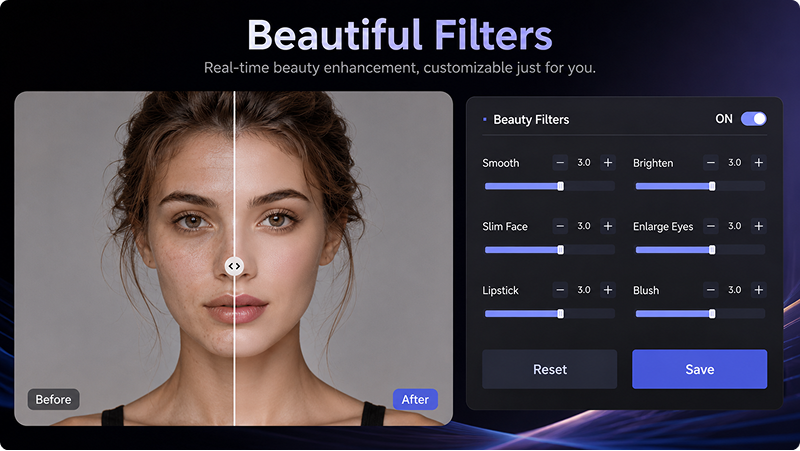
Beauty Filters
Swapface includes multiple beauty filters that can adjust facial shape. Enable the corresponding filter to use these effects.
04 Stream settings
Stream settings mainly include two parts: Video Input and Video Output. Choose the camera source in the input area, then send the swapped feed to other video chat or streaming apps through the output area.
4.1 Video Input
In the Video Input dropdown, you can view and select cameras available on your computer.
Swapface supports the following video input options:
- USB camera
You can use a USB camera connected to your computer as the video input.
We recommend a 2K USB camera or higher resolution for a better experience.
- Virtual camera
You can use virtual cameras such as ManyCam Virtual Webcam or WeCam as the input source.
A virtual camera can also take a video file as input. This approach works well for WhatsApp, Messenger, and similar scenarios.
- Phone camera
With iVCam or Iriun, you can wirelessly use your phone camera as Swapface video input. Compared with a typical USB camera, phone cameras usually provide higher image quality.
Swapface for Mac also supports using an iPhone as a camera.
4.2 Video Output
- Stream Output
In the Video Output dropdown, you can choose how Swapface outputs video.
Swapface supports the following two output options:
- SwapFaceCam
SwapFaceCam can be used directly as a virtual camera.
For example, in the Zoom instructions above, you can select SwapFaceCam directly in Zoom’s camera options.
- OBS Virtual Camera
Some apps require OBS Virtual Camera as the output option, such as Messenger.
To use OBS Virtual Camera, install OBS Studio first.
After choosing an output option, open the settings of the app where you want to use Swapface, and in the camera options select:
SwapFaceCam or OBS Virtual Camera
Then you can use the face-swapped feed from Swapface.
05 FAQ and troubleshooting
If something goes wrong while using Stream, try restarting Swapface and reconnecting the USB camera first. Some issues can also be resolved by waiting a moment and trying again.
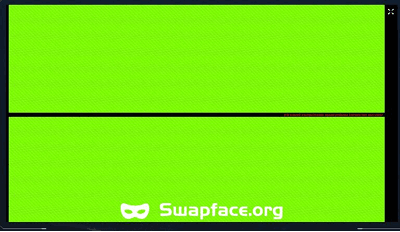
5.1 Green screen
If you see a green screen, the input camera usually is not working correctly.
Try the following:
- Unplug the USB camera and plug it back in
- Recheck whether the camera is working normally
5.2 OBS Virtual Camera errors
If something goes wrong while using OBS Virtual Camera as output, wait a moment and try again.
Also note:
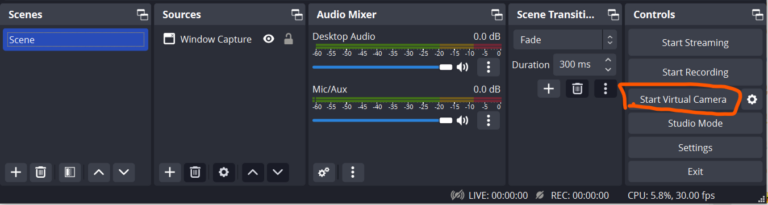
- Do not click Start Virtual Camera in OBS
- Sometimes you may need to reinstall OBS Studio or install another version. We use version 30.0.
06 Use Swapface in other apps
After finishing Stream setup, you can also use Swapface with other video chat and live streaming apps.
We have prepared separate tutorials for using Swapface in WhatsApp, Messenger, and other apps.
Open the full guide to see the specific setup steps for different apps.
You may also need
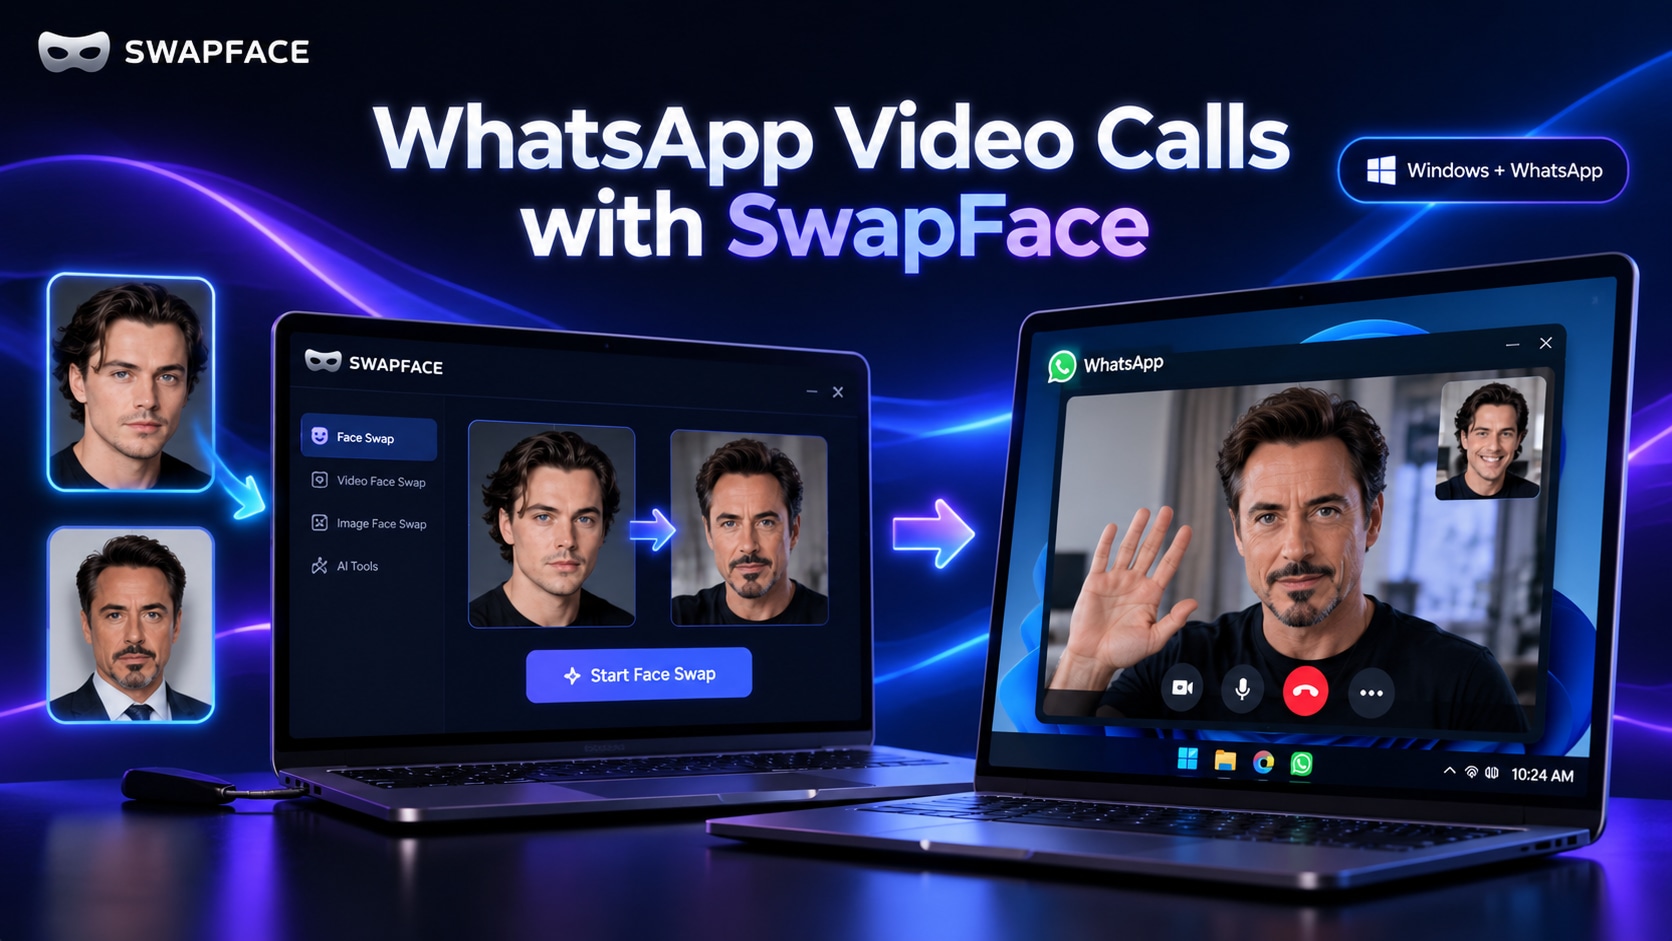
How to Use Swapface for WhatsApp Video Calls on Windows
A complete setup guide for routing Swapface realtime face swap through ManyCam or WeCam so you can use it in WhatsApp video calls on Windows.
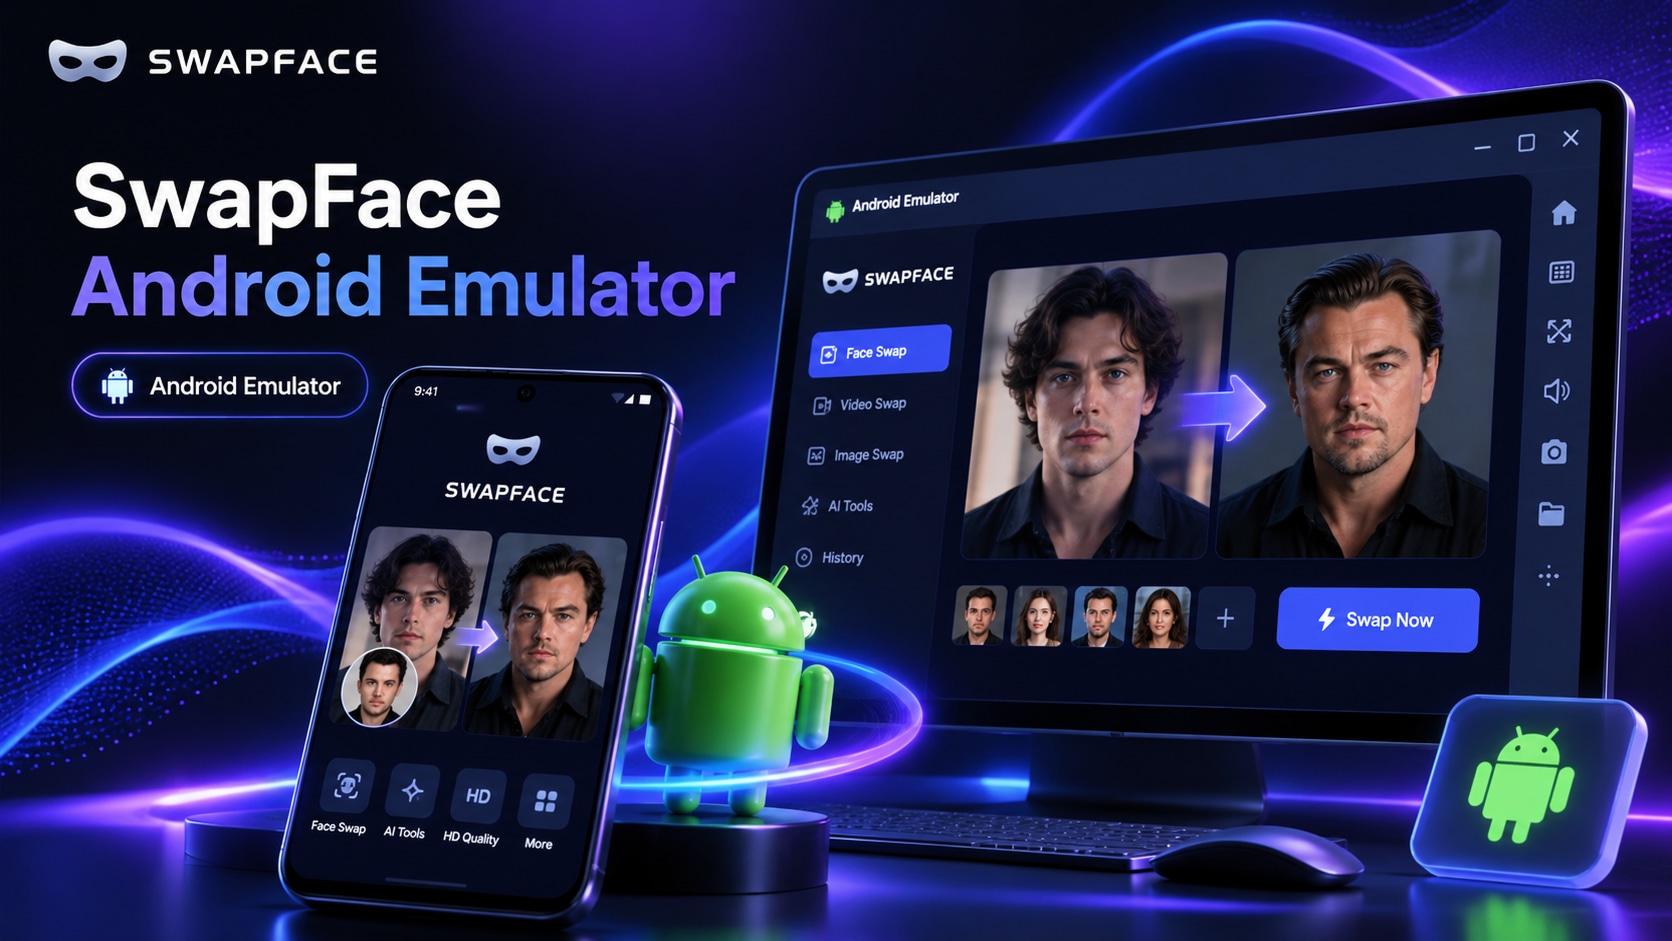
Swapface Android Emulator Tutorial
A complete guide to using Swapface realtime face swap for WhatsApp video calls on Windows via the Nox Android Emulator, OBS Virtual Camera, and WeCam.
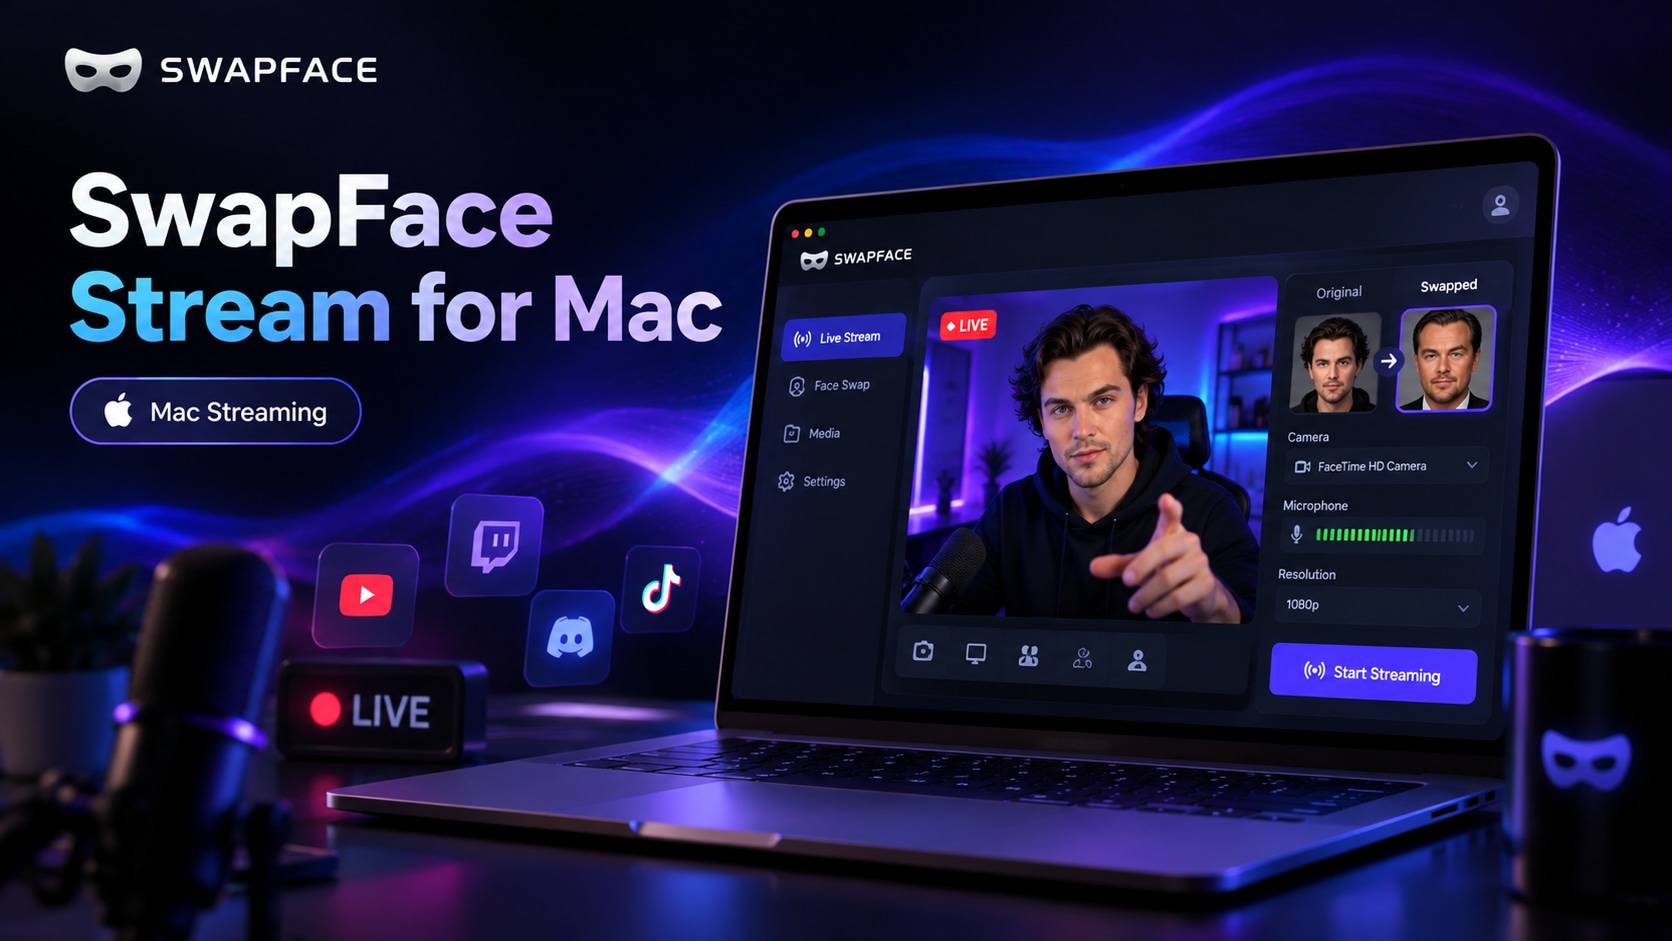
Swapface Stream Mac Complete Guide
A complete Mac guide covering the workflow, installing Swapface and OBS, configuring Stream, and using OBS Virtual Camera in Zoom, Meet, and other apps.
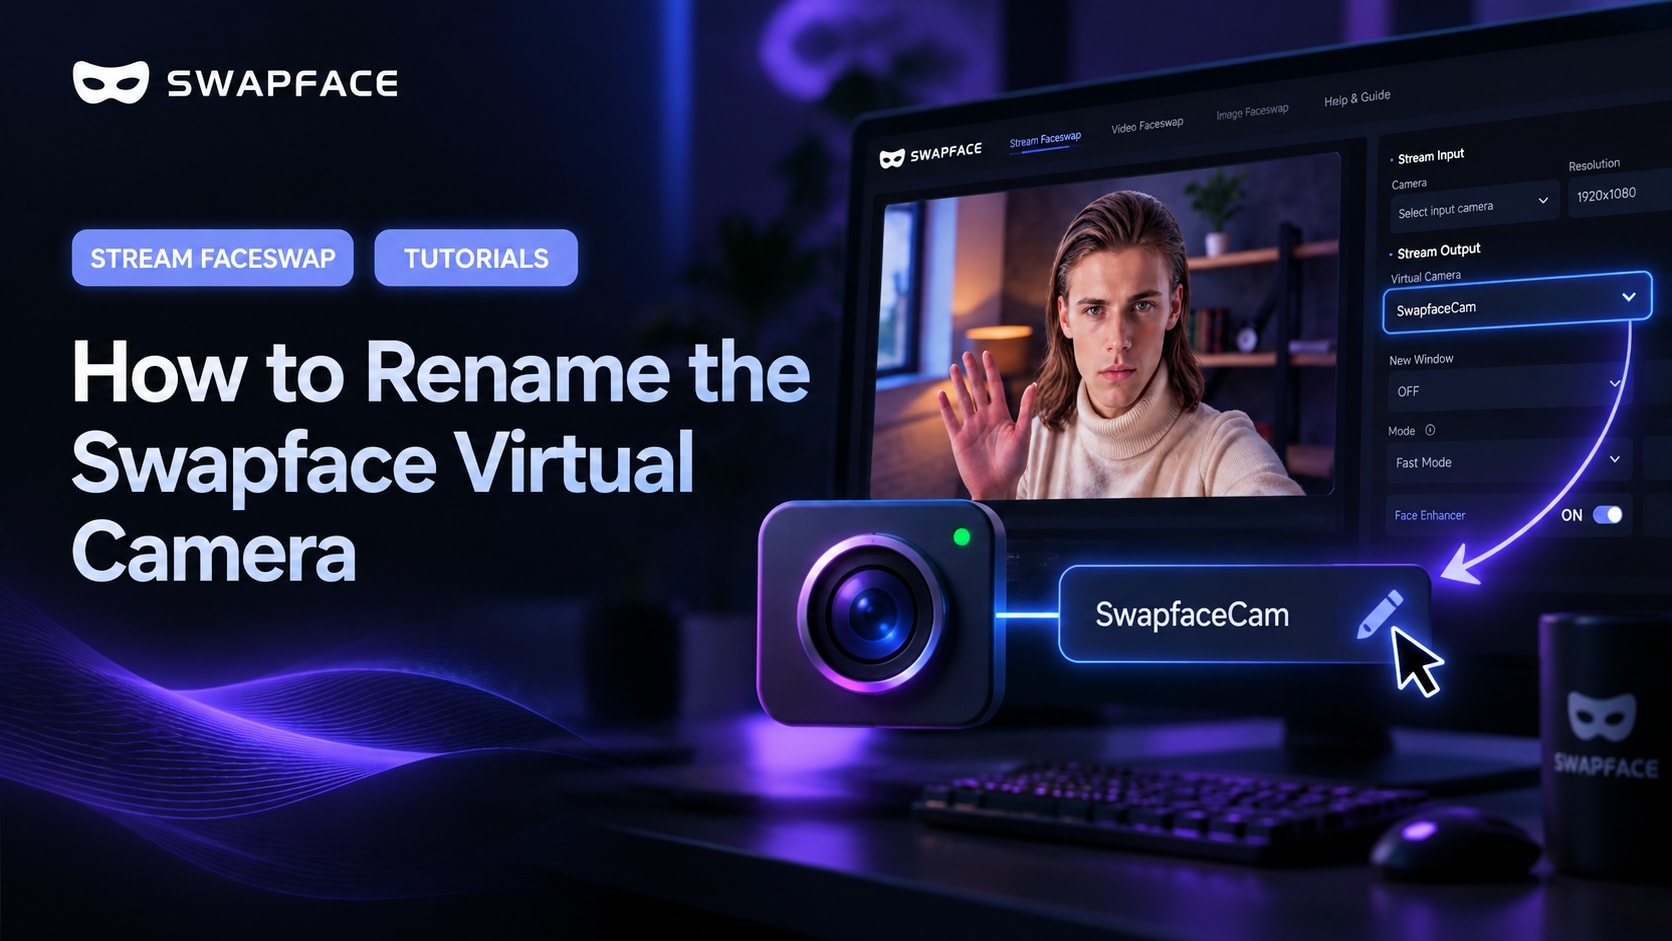
How to Rename the Swapface Virtual Camera
By default, apps see your camera as “SwapfaceCam”. Here is how to give the Swapface virtual camera any name you like, in about two minutes.
How to Install Swapface on Windows
System requirements, the right install location, and the mistakes that cause most installation problems — everything you need to set up Swapface on Windows.